


Let’s set the scene. You're ready to refresh your space. You've picked out the perfect paint colour or maybe a stylish new wallpaper mural. Your Pinterest board is bursting with decor ideas and inspiration. But before you can get started, there it is – your old wallpaper.
That old, peeling, slightly offensive pattern staring back at you like it knows it's overstayed its welcome.
If you're feeling a mix of excitement and dread, you're not alone. Many DIY decorators begin their home projects full of energy only to hit this awkward speed bump. Removing wallpaper can feel intimidating, messy and frustrating. But the good news is that it doesn't have to be!
With the right preparation and techniques, taking down wallpaper can be a manageable and even oddly satisfying part of the process. Here is our step by step guide to removing wallpaper so you can spend less time scraping and more time enjoying your fresh new walls.
Step One: Before You Even Touch the Wall

For the sake of this blog, we’re going to assume you don’t have access to top-of-the-range steamers and other equipment that the professionals use.
Once you know that old wallpaper is heading for the bin, there’s a temptation to just start tearing away. But wait! Removing wallpaper isn’t just a matter of peeling and hoping for the best. There’s a bit of strategy involved. Before you start tugging at seams, make sure to do the following:
Clear the Area
Move furniture away from the walls and cover the floor with dust sheets or plastic sheeting. Wallpaper removal is a wet process and things will get messy.
Turn Off the Electricity
As you'll be using water, it's important to be safe. Turn off the electricity in the room and remove outlet and light switch covers. Tape over them with painter’s tape to stop moisture getting inside.
Identify Your Wallpaper Type
Some wallpaper is strippable and will peel right off. Others are more stubborn and need a bit of persuasion. Test a small corner of the wallpaper. If it pulls off easily in sheets, you’re in luck. If not, you’ll need to use water or a wallpaper removal solution.
Step Two: Wet It Down

Unless your wallpaper peels off on its own, you’ll need to moisten it to loosen the adhesive.
Score the Wallpaper
Use a wallpaper scoring tool, available from most DIY stores, to gently perforate the surface. This helps water penetrate the wallpaper and reach the glue underneath. Don’t go overboard. You want holes in the paper, not the wall.
Soak the Paper
You can use a commercial wallpaper remover solution or make your own using warm water and a few drops of washing-up liquid. Some people also add vinegar, which helps to cut through stubborn adhesive.
Apply the solution generously using a sponge, spray bottle or paint roller. Let it soak in for 15 to 20 minutes before you start scraping.
Work in Sections
Don’t try to soak and remove the entire room at once. Work in manageable sections, around three feet by three feet. That way, the water remains effective and the job won’t feel overwhelming.
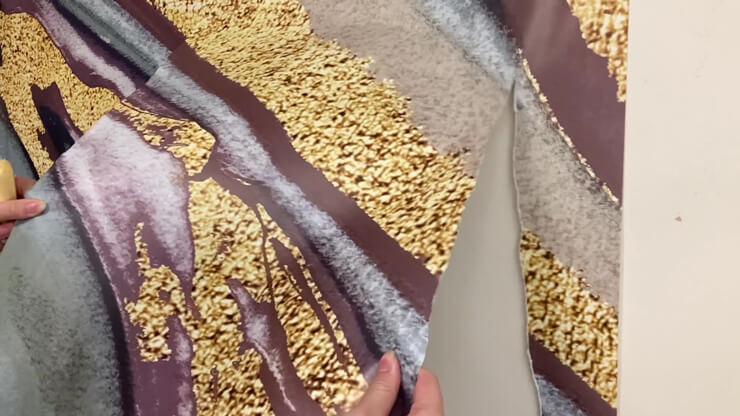
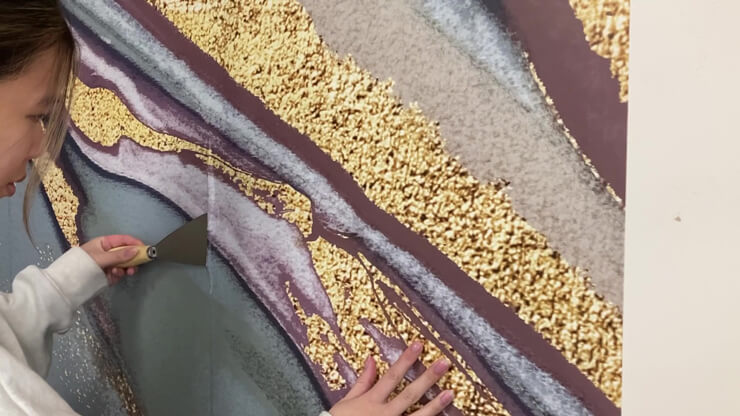
Step Three: Remove Wallpaper Like a Pro
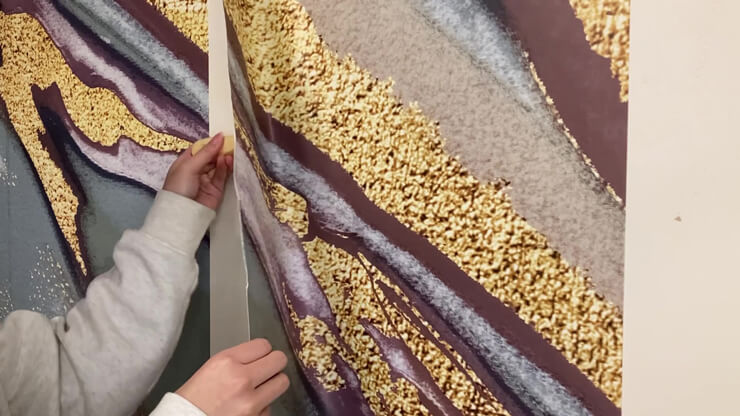
This is the part where you need to be patient. Armed with a scraper and a bit of determination, it's time to start removing the wallpaper.
Use a Scraper or Filling Knife
Start at a seam or a scored area and gently lift the wallpaper with a wide scraper or filling knife. Hold the blade at a shallow angle to avoid damaging the plaster underneath. If you’re lucky, large strips will come off at once. If not, just keep working slowly and carefully. Re-wet any areas that are particularly stubborn.
Don’t Rush
Trying to tear dry wallpaper off in chunks is likely to cause more damage than progress. Be patient and let the water do most of the work.
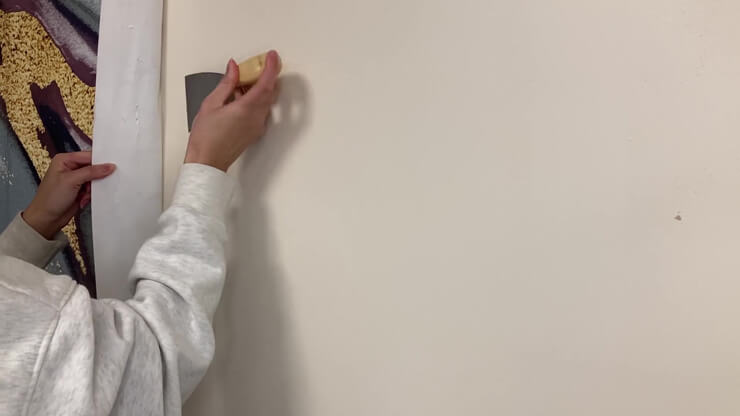
Step Four: Clean and Prime for the Next Step
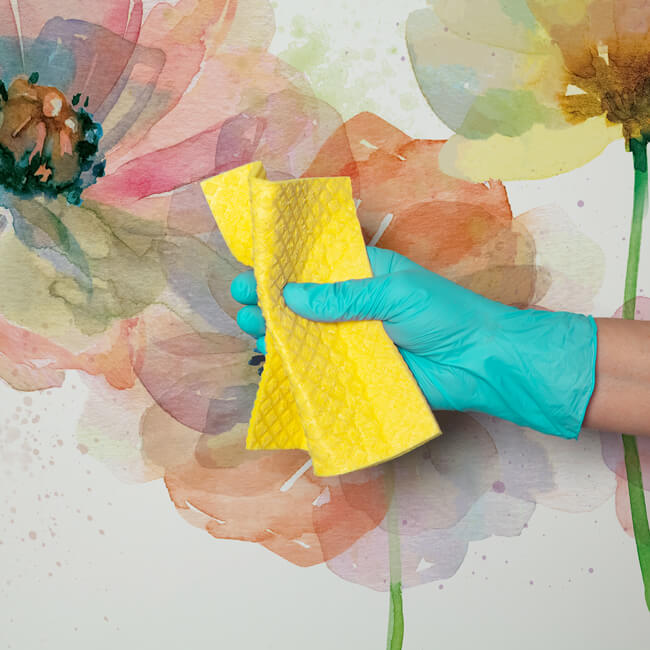
Remove the Adhesive
Even after the wallpaper is gone, some glue may still be left on the wall. Use a sponge and warm soapy water to scrub it away. A vinegar and water mix can also be effective. If it proves particularly stubborn, commercial glue removers are available.
Use a clean cloth to wipe the wall dry afterwards and allow it to air out completely before moving on.
Inspect the Surface
Check for damage. If the wall is pitted or torn from the removal process, use a ready-mixed filler or joint compound to patch it up. Once it’s dry, sand the area smooth for a flat finish.
Wash the Walls (Again)
Even if you’ve already scrubbed the glue away, do one last wipe-down to make sure the surface is totally clean. Any residue left behind can interfere with paint or new wallpaper adhesive. Once the wallpaper and glue are removed, your wall is nearly ready for a new look. But don’t skip this final stage. It won’t take too long and you’ll avoid any potential headaches in the future!
Prime the Walls
This step is essential. Use a primer that suits your next wall finish. A drywall primer is ideal if you’re planning to paint, or a wallpaper primer if you’re hanging new wallpaper.
Priming helps to seal the wall and ensures better adhesion. It also makes any future wallpaper removal much easier, should you decide to redecorate again.
Wrapping Up: A Blank Canvas
Removing wallpaper might not be the most glamorous part of your redecorating project, but it’s an important one. It can be messy and a bit tiring, but once it’s done, you’re left with a clean slate.
And isn’t that the best part of any project? That moment when the old is cleared away and you’re left with fresh potential?
So grab your scraper, put on a good playlist and get to work. Before you know it, that outdated wallpaper will be a distant memory and your new space will start to come to life.
Quick Recap: Wallpaper Removal Checklist
- Clear the room and cover the floor
- Turn off electricity and protect outlets
- Test the wallpaper type
- Score the wallpaper surface
- Soak with warm water and solution
- Scrape gently with a wide knife
- Remove any remaining glue
- Repair and sand any damage
- Wash and dry the wall thoroughly
- Prime the surface before decorating
Wallpaper removal might never be the highlight of your renovation journey, but with the right approach and a little patience, it doesn’t have to be a nightmare. Follow these steps, take your time and soon you’ll be well on your way to walls that are ready for your next creative idea.
Happy decorating!
Do you have any wallpaper removal tips that you’ve learned from your own experience? Let us know in the comments below and we can all defeat this awkward task together!
![Summer House Interior Ideas [Hot Tub Included!]](/images/blogs/Summer-house.jpg)

![How to Decorate with Orange [Expert Advice]](/images/blogs/decorate-with-orange.jpg)
Latest Social